Contents
Many garage door installation issues trace back to poor measurement or alignment. You’ll see how the right opening size, door style, and hardware choice affect every step, from safe removal of the old unit to precise track and panel placement. The opener and safety systems come next, then final testing confirms smooth operation and proper balance. What happens in between can make or break the job.
Key Takeaways
- The installer measures the opening, checks framing, and confirms headroom, backroom, and jamb depth.
- Old doors, springs, panels, and hardware are removed safely before new installation begins.
- New tracks, panels, rollers, and hardware are assembled and aligned section by section.
- Springs and the opener are installed, tensioned, connected, and calibrated for proper operation.
- The finished door is tested for balance, travel, safety reversal, and control responsiveness.
Understand the Garage Door Installation Process
Before the new door goes up, a technician will measure the opening, inspect the framing, and confirm that the tracks, springs, rollers, and opener are compatible with the system you’ve chosen.
During garage door installation, you’ll see the old components removed, the hardware sorted, and the new sections assembled in sequence. The crew sets the first panel, installs hinges and rollers, then builds upward while keeping alignment tight.
They secure the tracks, tension the springs, and connect the opener with careful calibration. You stay informed at each step, so you know what’s happening and why.
A final test checks balance, travel, and safety features. When the job’s done, you’re part of a setup that feels solid, works smoothly, and fits your home.
Measure the Opening and Choose the Right Door
You need accurate opening measurements before you order, since width, height, and side clearance determine the fit.
Check the headroom, backroom, and jamb depth so you can match the door to the opening and the hardware.
Once you’ve confirmed the dimensions, choose a door that meets your insulation, durability, and space requirements.
Accurate Opening Measurements
Accurate measurements are the foundation of a smooth garage door installation, so measure the width and height of the opening, the side room, headroom, and backroom before you choose a door.
Take each reading in at least three places, because openings aren’t always perfectly square. Use a steel tape, record the smallest dimensions, and note any obstructions like pipes, trim, or uneven concrete.
Check the floor slope and confirm the header is level. If your opening has a finished frame, measure the clear opening, not the rough framing.
Good data helps you work with your installer as a team and avoids costly surprises later. When you share exact numbers, you give your crew the information they need to fit the new door cleanly, safely, and on schedule.
Selecting the Best Door
Once you’ve confirmed the opening dimensions, match them to the door style, material, insulation value, and hardware that fit your garage and climate. You’re not just buying a panel; you’re choosing performance, security, and curb appeal that suit your home’s setup and your neighborhood standards.
Verify width, height, and headroom for safe operation.
Pick a material—steel, wood, aluminum, or composite—based on durability and maintenance.
Compare insulation ratings and wind-load options for energy savings and weather resistance.
Check track style, spring type, and opener compatibility before you order. If your garage is attached, choose a sealed, insulated door to reduce drafts and noise.
When you match these specs carefully, you’ll join homeowners who get a reliable fit the first time.
Remove the Old Garage Door Safely
Before you remove the old garage door, secure the door in the down position and disconnect the opener.
Release spring tension only with the correct tools and procedure, since stored energy can cause serious injury.
Then remove the panels and hardware in a controlled sequence so the opening stays stable and safe.
Safe Door Removal
Start by disconnecting the garage door opener and securing the door in place so it can’t fall unexpectedly during removal. You’re keeping control of every panel and reducing risk for everyone nearby.
Work with a partner, wear gloves and eye protection, and clear the area before you lift or carry anything. Remove hardware methodically, stacking parts where they won’t shift.
- Lock the door path and mark every fastener.
- Remove panels from top to bottom, staying balanced.
- Carry pieces out together, not one-handed.
If you’re replacing the system, label reusable brackets and hinges for easy reference later. This step protects the opening, your team, and the clean install ahead.
Spring Disconnection Steps
With the door secured and the opener disconnected, you can move on to the springs, but treat them as high-tension components that can release dangerous force.
If you’ve got torsion springs, insert the correct winding bars fully into the cone and unwind them in quarter-turn steps, keeping a firm stance.
For extension springs, release the safety cables and detach the springs from the track hardware.
You should never use screwdrivers or makeshift tools.
As you work, keep your hands clear of the winding cone and bracket path.
Mark each part so your crew can reinstall or replace it correctly.
If a spring looks warped, rusted, or cracked, stop and call a pro.
Careful prep keeps the rest of your installation smooth and safe for everyone.
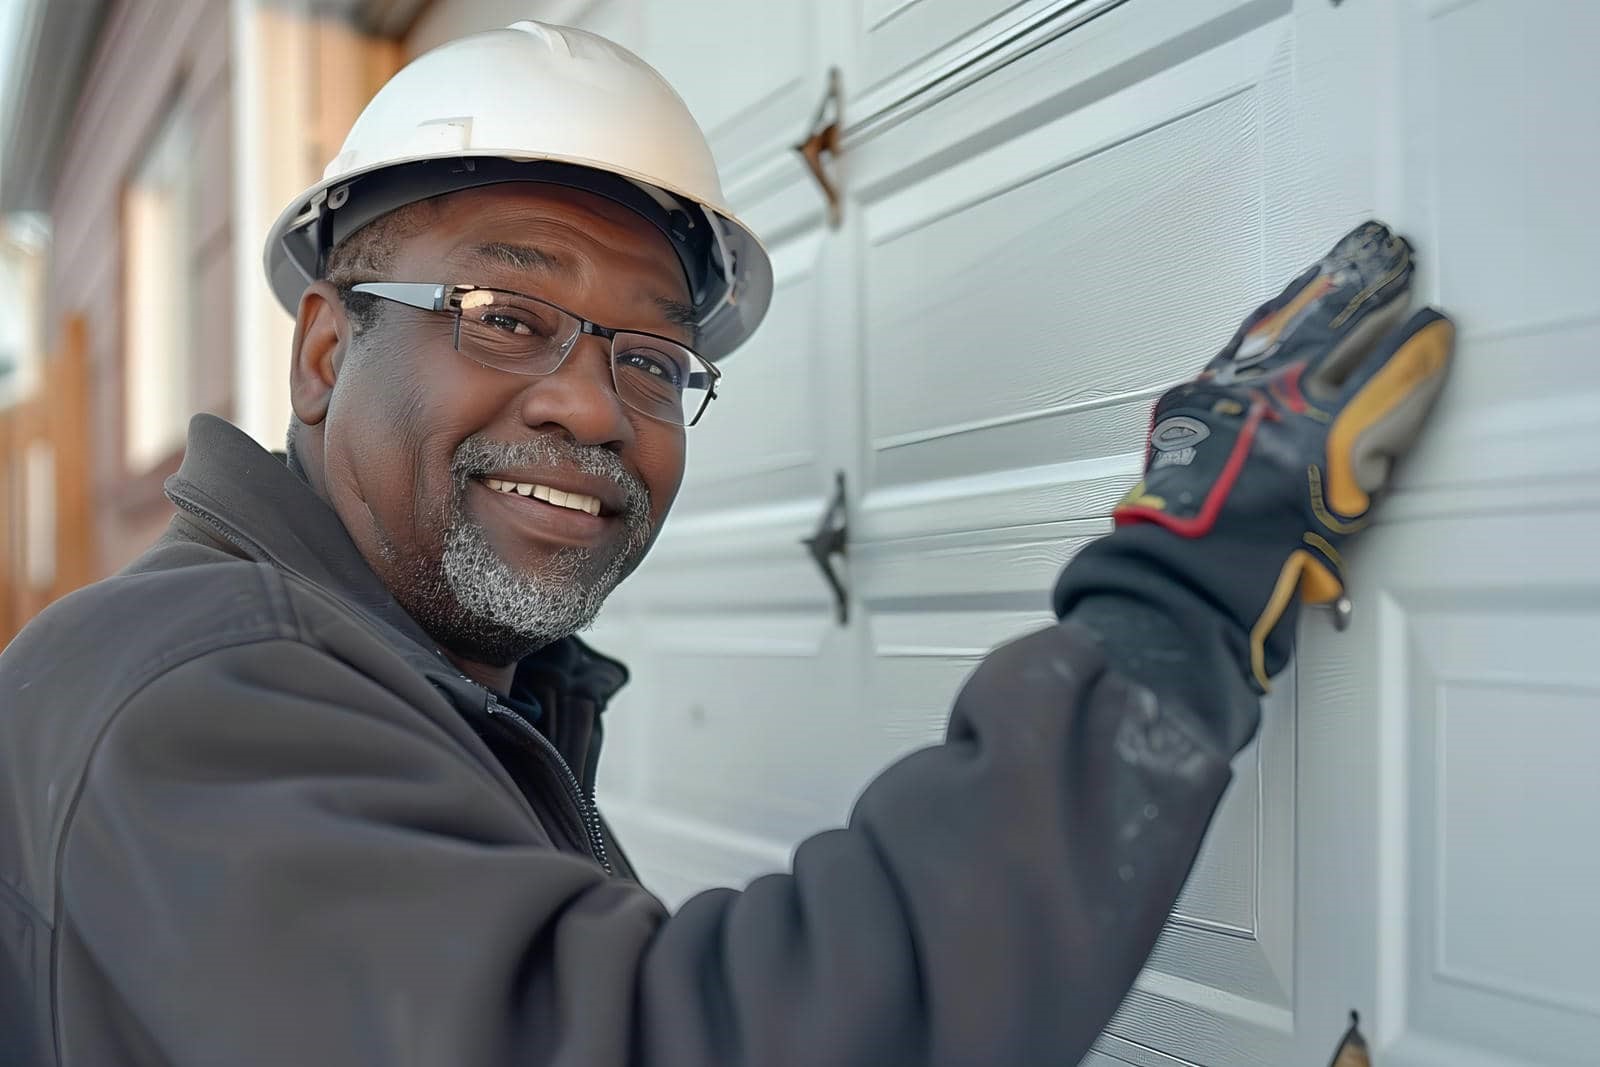
Install the Tracks, Panels, and Hardware
Install the vertical and horizontal tracks next, making sure they’re plumb, level, and spaced to match the door’s specifications. You’ll bolt each bracket securely, then verify alignment before moving on.
Slide the bottom panel into place, attach hinges, and stack each section as you work upward. Keep the seams tight and the edges square so the door runs cleanly.
- Check track spacing at every mount point.
- Tighten hardware only after panels sit true.
- Confirm each roller moves freely in the track.
Add center and end hinges, handle each panel carefully, and use the correct fasteners for your model.
When everything lines up, you’re building a door that feels solid, looks right, and fits your garage like it belongs there.
Install the Opener and Safety Features
Once the door sections, tracks, and rollers are set, mount the opener and wire the safety features according to the manufacturer’s layout.
You’ll secure the opener to the ceiling framing, align the rail with the door centerline, and connect the arm to the top section.
Run low-voltage wiring neatly along the wall, then place the photo-eye sensors on each side of the opening at the same height.
Keep the lenses clean and square to each other so the system can protect your household.
Install the wall control, connect the power, and organize all cables with clips or staples rated for that purpose.
When you work methodically, you fit right into a team that values safe, reliable operation and long-term performance.
Test the Garage Door Before Final Sign-Off
Before you sign off, cycle the door through several full open-and-close tests to verify smooth travel, proper balance, and correct opener operation. Stay close and watch for rubbing, jerking, or uneven gaps. Listen for grinding, popping, or chain slap, and confirm the opener stops cleanly at both limits.
Check manual lift: the door should stay near mid-travel without drifting.
Test safety reversal: place a small block under the door; it should reverse immediately.
Inspect final hardware: tighten fasteners, confirm rollers track correctly, and verify remotes and wall controls respond.
If anything feels off, ask the installer to adjust it now. You want your garage door to join your home team working safely, quietly, and reliably from day one.
Frequently Asked Questions
How Long Does a Typical Garage Door Installation Take?
Typically, you’ll spend about 3 to 6 hours on a standard garage door installation. You’ll finish faster with a straightforward replacement, but custom doors, opener work, or repairs can stretch the job into a full day.
What Factors Affect the Total Installation Cost?
You’ll pay more when you choose larger doors, insulated materials, custom styles, upgraded openers, spring replacements, old-door removal, and complex labor. Your location, permit fees, and site conditions also raise costs.
Do I Need a Permit for a New Garage Door?
Yes, you usually do; permits are the gatekeeper for your project. You should check local codes before you install, since rules vary by city, HOA, and door size, opener, or structural changes.
Which Garage Door Material Lasts Longest in My Climate?
Steel usually lasts longest in most climates, especially insulated, galvanized panels. If you’re coastal, choose marine-grade aluminum or composite; if you’re in humid, wet areas, avoid untreated wood to prevent warping, rot, and swelling.
What Warranty Should I Expect on Parts and Labor?
You should expect 1–5 years on parts and 1 year on labor; premium doors may include longer coverage. Coincidentally, matching warranties often signal a supplier you can trust, so compare exclusions, service terms, and transferability carefully.
Recap
From start to finish, you can expect a careful, step-by-step garage door installation that prioritizes fit, function, and safety. You’ll measure accurately, remove the old door, and install each new component with precision. Then you’ll set up the opener and safety features before testing everything thoroughly. Remember, measure twice, cut once—small checks now prevent big problems later. When the final sign-off’s complete, you’ll have a door that runs smoothly and reliably.
Recent Posts
Garage Door Opener Installation: What Homeowners Should Know
You might not know that the wrong garage door opener can strain your door tracks
Why Carriage House Garage Doors Keep Winning Over Homeowners
If you want a garage door that adds character without sacrificing everyday function, carriage house
Modern Garage Door Styles That Transform Curb Appeal
A modern garage door doesn’t just look stylish; it can quickly change how your home