Contents
Are you ready to put your garage door opener installation skills to the test? This quiz covers essential tools, common installation mistakes, and maintenance tips that can make or break your setup. Knowing the right steps can save you time and frustration. Plus, you’ll learn when it’s best to call in a professional. Let’s see how well you understand the ins and outs of installing a garage door opener.
Key Takeaways
- Use essential tools like a power drill, level, and stud finder to ensure accurate installation.
- Choose between chain drive or belt drive openers based on your budget and noise preference.
- Follow a detailed installation checklist to avoid missing crucial steps.
- Regular maintenance, including lubrication and cleaning, extends the lifespan of your garage door opener.
- Call a professional for complex issues like misaligned tracks or electrical problems.
Essential Tools for Garage Door Opener Installation
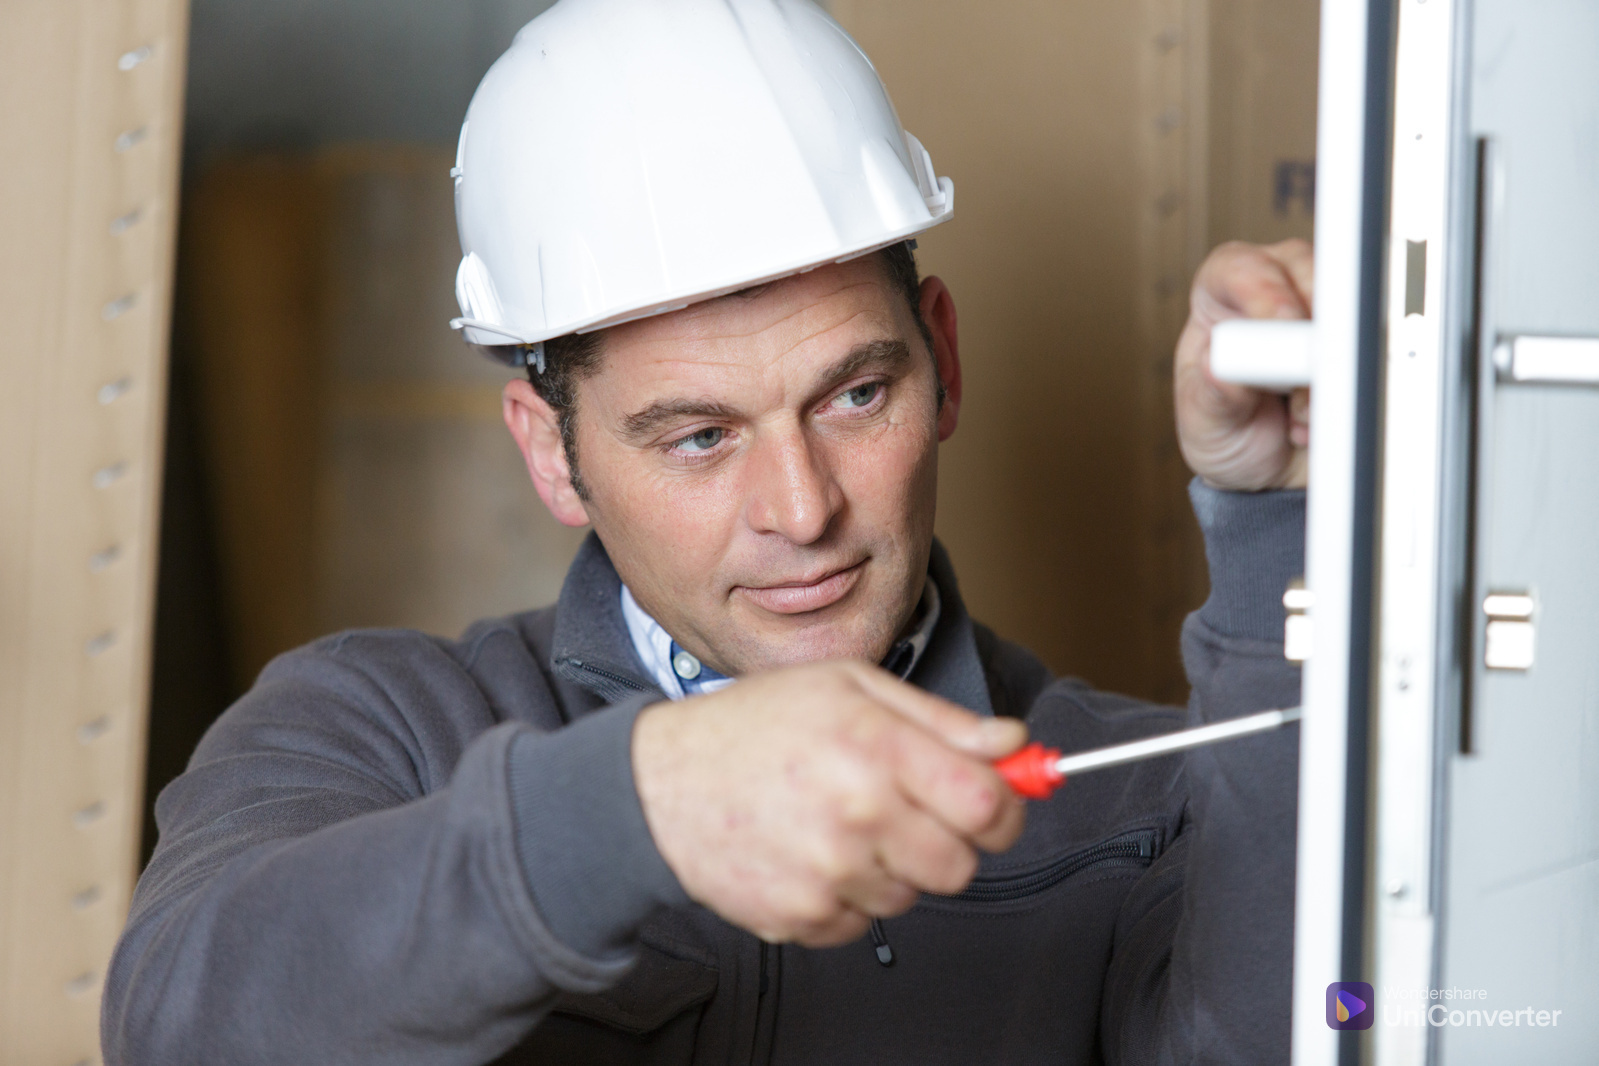
When you’re gearing up to install a garage door opener, having the right tools on hand can make all the difference. Start with a power drill, adjustable wrench, and a level. These essentials ensure you can tackle most tasks effectively.
Don’t forget a stud finder to locate secure mounting points and a tape measure for accuracy.
Before jumping in, prioritize safety precautions. Always wear safety glasses and gloves to protect yourself from potential hazards.
Tool organization is key to a smooth installation process. Use a toolbox or a workbench to keep your tools within reach and sorted so you won’t waste time searching.
If you’ve got a partner, collaborating can help streamline the installation, making it a fun project to share. With the right tools and a little teamwork, you’ll install the opener effectively and foster a sense of accomplishment.
Understanding Different Types of Garage Door Openers
When choosing a garage door opener, you’ll typically encounter two main types: chain drive and belt drive openers.
Chain drive openers use a metal chain to lift the door, making them durable and cost-effective, while belt drive openers use a rubber belt for quieter operation.
Understanding these options will help you select the right opener for your needs and preferences.
Chain Drive Openers
If you’re considering a reliable and cost-effective option for your garage door opener, chain drive openers are a popular choice among homeowners.
One of the key chain drive advantages is their durability; they can handle heavy doors with ease and require minimal maintenance. Additionally, they often come at a lower price point compared to other types, making them accessible for many budgets.
However, be mindful of chain drive noise. These openers can be noisier than belt-driven models, so if you have a living space above or near the garage, this might be a concern.
Belt Drive Openers
While chain drive openers are known for their strength and affordability, belt drive openers offer a quieter and smoother operation, making them an attractive alternative for homeowners.
Here are some belt drive advantages and disadvantages to evaluate:
Quieter Operation: The rubber belt absorbs sound, providing a peaceful environment, especially in attached garages.
Smooth Performance: You’ll enjoy a gentle, reliable opening and closing, reducing wear on your door.
Higher Initial Cost: While they offer great benefits, the upfront investment can be considerably higher than chain drive models.
Ultimately, if you value peace and performance, a belt drive opener might be the right choice for your home.
However, weigh the costs against your budget and needs before deciding.
Preparing Your Garage for Installation
Before you start your garage door opener installation, make certain to clear out any clutter in the space to give yourself ample room to work.
Gather all necessary tools, such as a screwdriver and a level, to ensure a smooth installation process.
Finally, check the electrical connections to confirm they’re safe and ready for use.
Clear Garage Space
Clearing out your garage is an essential first step when installing a garage door opener. This helps with the installation process, and it promotes garage organization and space optimization.
Start by setting aside a dedicated area for your tools and equipment. Here’s how to efficiently clear your garage:
Remove clutter: Take out all items that don’t belong in the garage, like old furniture or seasonal decorations.
Sort and categorize: Create designated zones for tools, sports equipment, and gardening supplies.
Maximize vertical space: Use shelves or hooks to free up floor space and keep everything organized.
Gather Necessary Tools
Once you’ve cleared your garage space, it’s time to gather the necessary tools for your garage door opener installation.
Start by collecting a drill, screwdrivers, wrenches, and a level. Having these tools organized will save you time and hassle during the installation.
Make certain you also have a ladder handy to reach high areas safely.
Don’t forget about safety precautions—wear gloves and goggles to protect yourself from any potential hazards.
It’s also wise to have a friend assist you, as some parts may be heavy or awkward to maneuver alone.
With your tools in order and a focus on safety, you’ll ensure a smoother installation process, making your garage a welcoming space for your new opener.
Check Electrical Connections
Checking your electrical connections is an essential step in preparing your garage for the installation of a garage door opener. Proper electrical safety ensures a smooth and secure installation.
Here’s what you should do for effective connection testing:
Inspect wiring: Look for any frayed or damaged wires that might pose a hazard.
Check outlets: Use a voltage tester to confirm that your outlets are functioning correctly and providing the right voltage.
Secure connections: Ascertain all connections are tight and free from corrosion, preventing any disruptions during operation.
Step-by-Step Installation Process
Installing a garage door opener can be straightforward if you follow a structured approach.
Begin with your installation checklist to ensure you have all the necessary tools and components ready. Safety precautions are essential—wear gloves and goggles to protect yourself from potential injuries.
Start by mounting the opener to the ceiling, following the manufacturer’s guidelines. Securely attach the brackets and make certain everything is level.
Next, connect the door arm to the garage door, making sure it moves smoothly without obstruction.
Now, wire the opener to a power source, double-checking all connections. Test the safety features, like the auto-reverse function, to verify they’re working correctly.
Finally, program the remote and wall controls, ensuring they respond as expected.
Following these steps will make the installation easier and help you feel confident in your ability to tackle this project.
Happy installing!
Common Mistakes to Avoid During Installation
While you might feel prepared to tackle the installation of your garage door opener, overlooking common mistakes can lead to frustration and safety issues.
To help you avoid these common pitfalls, here are three installation errors to steer clear of:
Improper Measurements: Always double-check your measurements before cutting or drilling. Misjudging dimensions can cause misalignment and complications down the road.
Neglecting Safety Features: Don’t skip installing safety sensors. These are essential for preventing accidents and ensuring the door operates smoothly.
Ignoring the Manufacturer’s Instructions: Each garage door opener is different. Following the specific guidelines from the manufacturer is important for a successful installation.
Tips for Programming Your Garage Door Opener
Once you’ve successfully avoided common installation mistakes, it’s time to focus on programming your garage door opener.
Start by locating the programming button on your unit—usually found on the back or side. To initiate the programming sequences, press and hold this button until the light blinks.
Next, grab your remote control and press the button you wish to sync. This should be done within a few seconds of activating the programming mode. You’ll typically see the light on the opener flash again, indicating successful remote synchronization.
If you have multiple remotes, repeat this process for each one. Remember that some models may require specific sequences, so consult your manual for any unique steps.
Maintenance Tips for Longevity
To ensure your garage door opener lasts for years, regular maintenance is essential. By following a few simple tips, you’ll secure its longevity and maintain peace of mind.
Here’s what you should include in your routine inspections and lubrication schedule:
Check the Hardware: Regularly inspect bolts and screws for tightness. Loose components can lead to unnecessary wear and tear.
Clean the Tracks: Dirt and debris build-up can hinder functionality. Wipe down the tracks with a clean cloth to secure smooth operation.
Lubricate Moving Parts: Establish a lubrication schedule using a silicone-based lubricant for rollers and hinges. This reduces friction and keeps everything running smoothly.
When to Call a Professional for Assistance
Knowing when to call a professional can save you time and prevent further damage to your garage door opener. If you encounter installation challenges, like misaligned tracks or wiring issues, it’s best to seek professional services.
Attempting to fix complex problems without proper knowledge can lead to costly repairs or injuries.
Also, if your garage door opener isn’t responding at all, or if strange noises arise during operation, don’t hesitate to reach out for help. Professionals have the tools and expertise to diagnose issues quickly and efficiently.
Lastly, if you’re uncomfortable with any part of the installation process or simply don’t have the time, hiring a professional can ensure your garage door opener is set up correctly and safely.
Recap
Now that you’re armed with essential tools and knowledge for garage door opener installation, you can tackle the project with confidence! Think of your garage door opener as the trusty steed that protects your castle, and with the right techniques, you’ll ensure it runs smoothly for years. Remember, while DIY can be rewarding, knowing when to call in the pros can save you from a wild ride. Happy installing, and may your garage door open effortlessly!
Recent Posts
Why Choose Top Garage Door Installation Experts?
Did you know that a poorly installed garage door can lead to safety hazards and
7 Tips for Choosing Top Garage Door Installers
Selecting the right garage door installer can greatly impact your home’s security and curb appeal,
Why Follow This Garage Door Installation Guide?
When installing a garage door, a small mistake like misaligning the tracks can lead to