Contents
Installing an overhead door can be straightforward or complicated, depending on your preparation and technique. Understanding the top installation methods can make all the difference in durability and functionality. From preparing your garage space to ensuring precise alignment, each step is vital. You might not realize how small adjustments can impact the door’s performance. Let’s explore the essential techniques that will help you achieve a successful installation.
Key Takeaways
- Prepare the garage by clearing clutter, measuring the opening, and ensuring adequate ceiling height for smooth installation.
- Use essential tools like a power drill, level, and stud finder to ensure accuracy and efficiency during installation.
- Properly install door tracks by marking locations, securing vertical tracks plumb, and sloping horizontal tracks for drainage.
- Ensure tracks are aligned and level before tightening screws to prevent complications and guarantee optimal door function.
- Test and adjust the door mechanism by checking spring tension, lubricating rollers, and ensuring smooth operation through multiple tests.
Preparing Your Garage for Overhead Door Installation
Before you begin installing your overhead door, it’s important to prepare your garage properly. Start by verifying the area is clean and free from clutter. This not only promotes garage safety but also allows for a smoother installation process.
Next, take accurate door measurements; measure the width and height of the opening to confirm a proper fit for your new door. Remember to check the ceiling height and the space beside the opening, as these factors affect the type of door you can install.
Additionally, inspect the garage frame for any damage or weaknesses. Reinforce it if necessary to support the new door’s weight.
Finally, verify you have proper clearance for the door’s operation, both vertically and horizontally. By addressing these details, you create a safe and efficient workspace, which fosters a sense of belonging in your home improvement journey.
Choosing the Right Tools and Materials
With your garage prepped and ready, the next step involves selecting the right tools and materials for your overhead door installation.
Start with your tool selection; you’ll need a power drill, level, stud finder, and wrenches. These tools guarantee precise fitting and secure fastening. Don’t skimp on quality—investing in reliable equipment pays dividends in both efficiency and safety.
Next, focus on material quality. Choose a door made from durable materials, like steel or fiberglass, which can withstand the elements and offer better insulation.
Ascertain that the hardware, such as springs and tracks, are high-grade as well. Using inferior materials can lead to premature wear and costly repairs down the line.
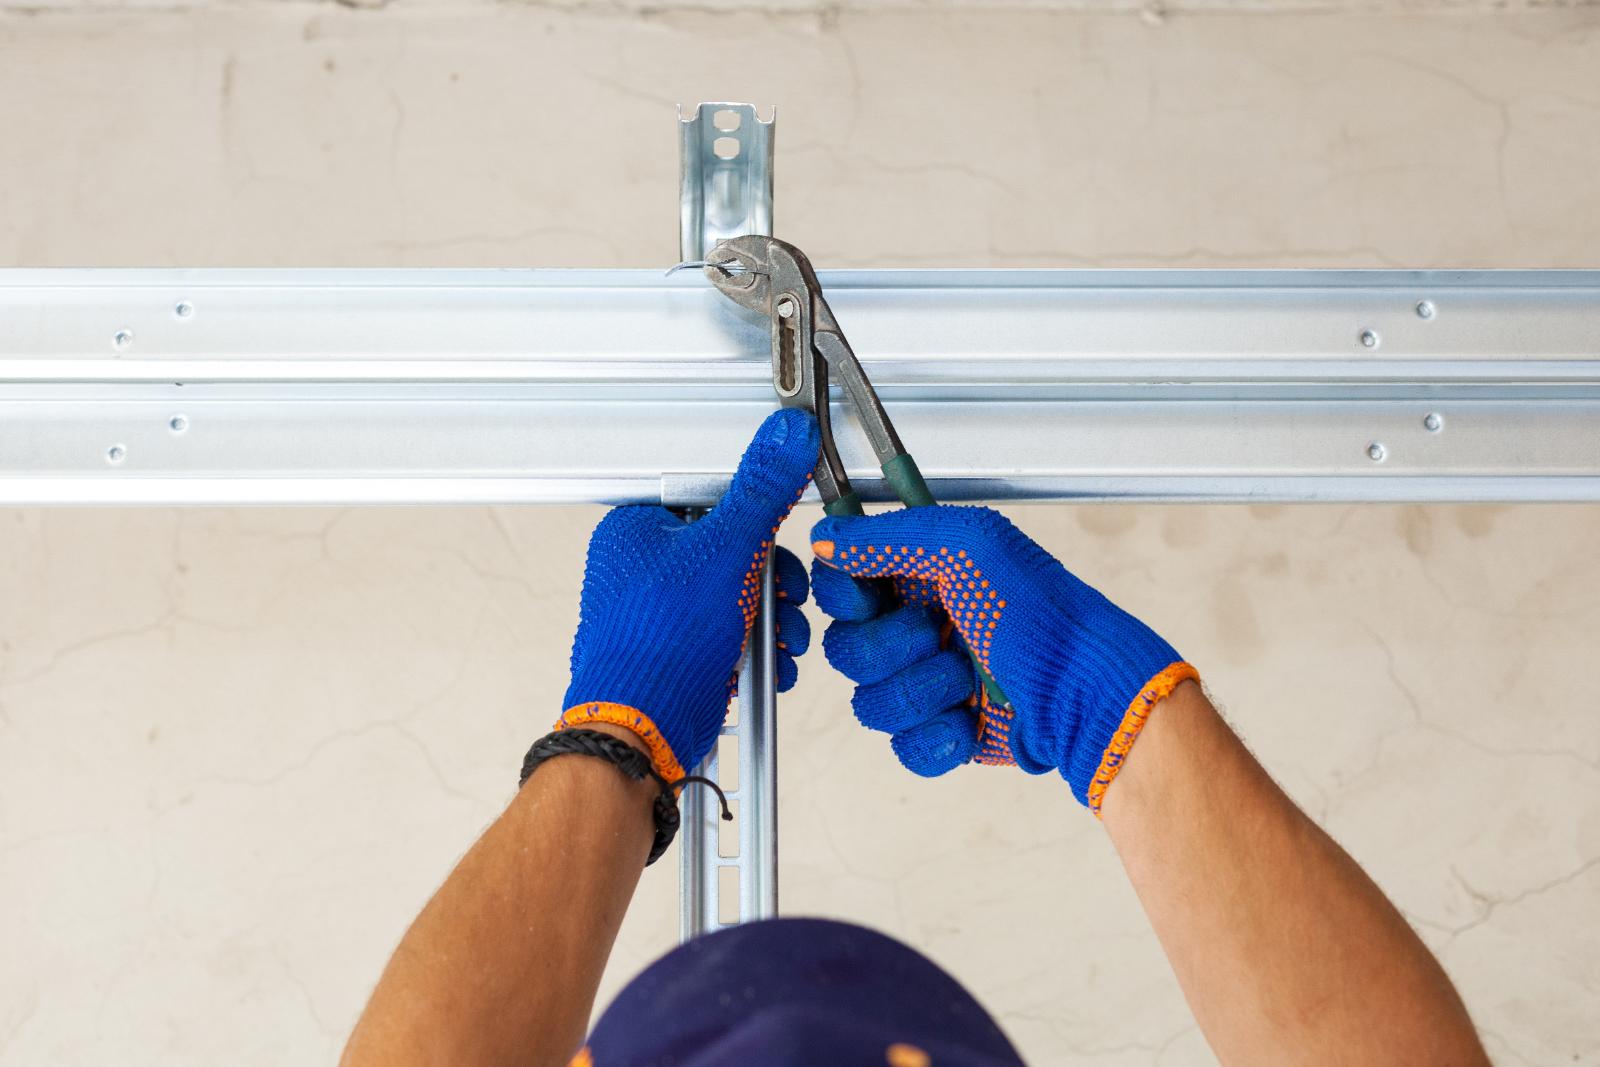
Properly Installing the Door Tracks
As you move forward with your installation, properly positioning the door tracks is essential for guaranteeing smooth operation. Start by measuring the height of the door opening and marking the track locations on the wall. Make sure to use a level to maintain accuracy during track installation; this will prevent misalignment.
Next, secure the vertical tracks to the wall with lag screws, guaranteeing they’re plumb. Use shims if necessary to achieve perfect alignment with the door.
When installing the horizontal tracks, guarantee they slope slightly towards the garage to facilitate drainage and prevent water accumulation.
Before tightening all screws, double-check that the tracks are aligned with the door. This attention to detail will pay off, as proper door alignment minimizes wear and tear on the door’s components, leading to a longer lifespan.
Ensuring Accurate Alignment and Leveling
Accurate alignment and leveling are critical to the successful operation of your overhead door. To guarantee your door functions smoothly and reliably, you’ll want to employ effective alignment techniques and precise leveling methods throughout the installation process.
Use a level to check the vertical and horizontal alignment of the tracks.
Adjust the tracks as necessary, making sure they’re parallel and evenly spaced.
Double-check the door’s position within the tracks before securing any hardware.
Regularly assess the alignment during the installation to prevent future complications.
Testing and Adjusting the Door Mechanism
Once you’ve verified the tracks are properly aligned and leveled, it’s essential to focus on testing and adjusting the door mechanism to guarantee peak performance. Start by checking the tension of the springs; they should be balanced for smooth operation. Next, assess the rollers and hinges for any signs of wear or misalignment. If you notice any issues, use these adjustment techniques:
| Component | Adjustment Technique | Purpose |
|---|---|---|
| Springs | Adjust tension via winding | Make sure door opens/closes smoothly |
| Rollers | Lubricate and realign | Reduce friction and noise |
| Hinges | Tighten or replace | Maintain secure movement |
After making these adjustments, test the door’s operation multiple times. Listen for any unusual sounds and check for smooth opening and closing. This attention to detail guarantees your overhead door functions efficiently and securely.
Recap
In summary, mastering overhead door installation techniques not only enhances functionality but also extends the door’s lifespan. Did you know that a well-installed garage door can last over 30 years with proper maintenance? By preparing your garage space, selecting appropriate tools, and guaranteeing precise alignment during installation, you can greatly improve performance and durability. Regular testing and adjustments are essential, as they verify your door operates smoothly, providing both security and convenience for years to come.
Recent Posts
Why Follow This Garage Door Installation Guide?
When installing a garage door, a small mistake like misaligning the tracks can lead to
3 Best Steps for Garage Door Installation
Did you know that many homeowners tackle garage door installation themselves? This statistic highlights the
How to Install Your Garage Door: Step-by-Step Guide
Installing your garage door might sound like a challenging task, but with the right approach,