Contents
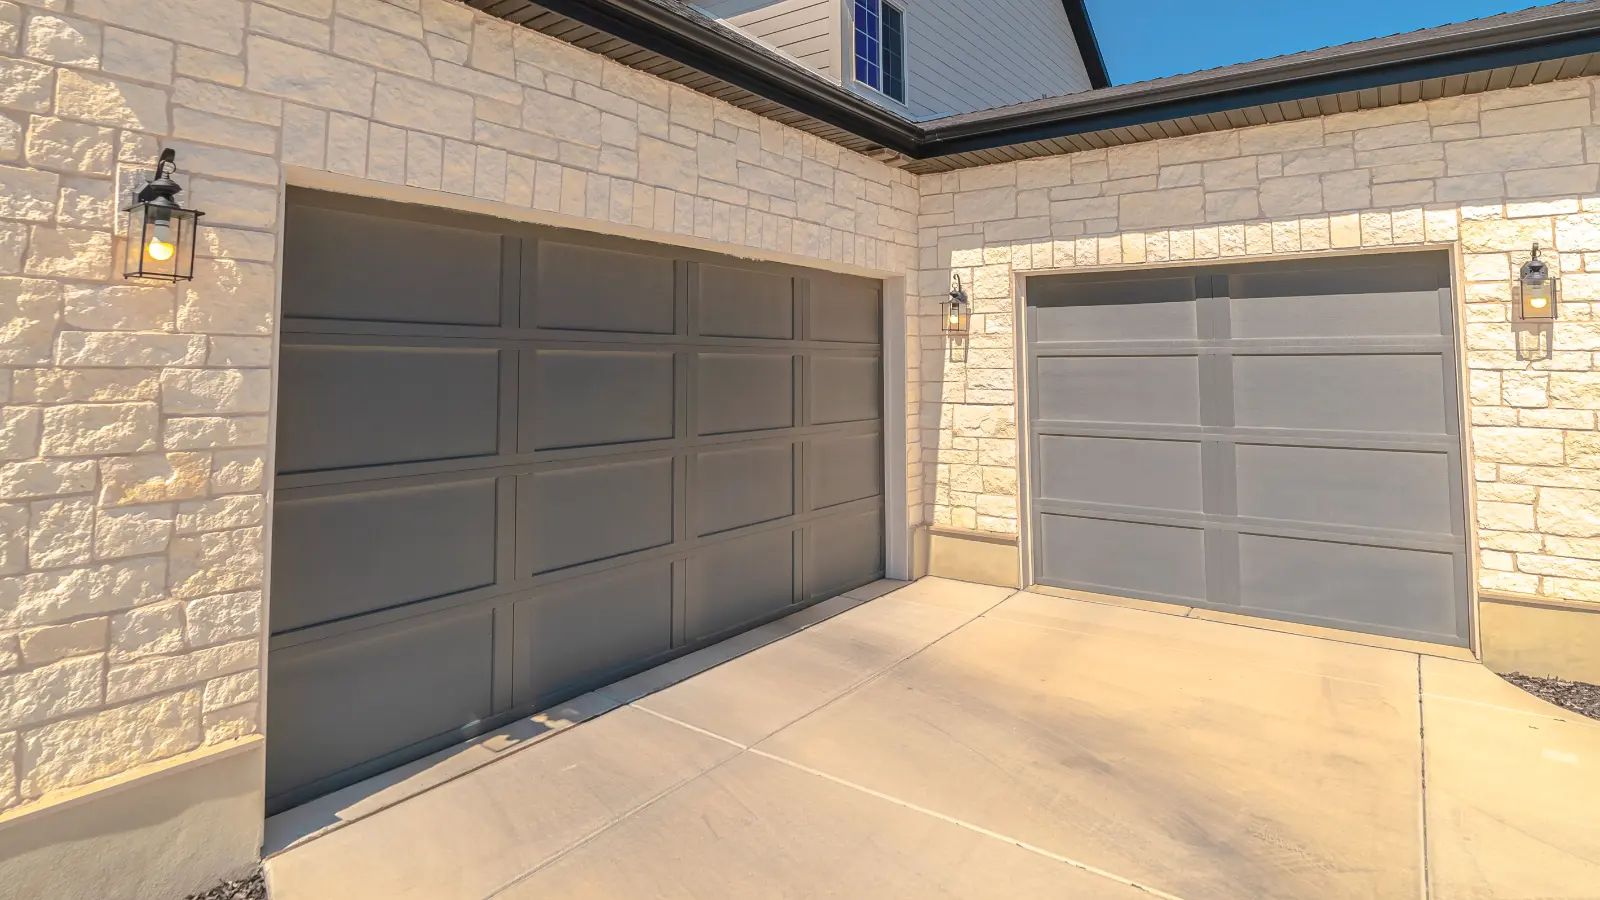
Imagine you’re stuck in a maze, desperately searching for the exit. But instead of walls and dead ends, you find yourself facing a malfunctioning garage door.
It’s a frustrating predicament, one that leaves you feeling trapped and uncertain of what to do next.
But fear not, for in this discussion, we will unveil the ten best solutions for emergency garage door repair.
From troubleshooting tips to fixing broken springs and addressing sensor issues, we’ll guide you through the maze of garage door woes, offering expert advice and practical solutions to help you navigate your way to a fully functioning garage door once again.
So, get ready to unlock the secrets of emergency garage door repair and regain control over your entrance and exit.
Key Takeaways
- Regular maintenance and troubleshooting can help prevent emergency garage door repair.
- Checking the power source, batteries, and sensor alignment should be the first steps in troubleshooting.
- Clearing obstructions in the door tracks and lubricating moving parts are common quick fixes.
- In more severe cases, it may be necessary to tighten loose hardware, replace worn-out parts, or call a professional for repair.
Quick Troubleshooting Tips
If you’re experiencing issues with your garage door, there are a few quick troubleshooting tips that can help you identify and potentially resolve the problem. When your garage door refuses to open or close, the first thing you want to check is the power source. Ensure that the door opener is plugged in and that there’s power running to it. If there’s no power, check your circuit breaker or fuse box to see if a switch has been tripped or a fuse has blown. Resetting the breaker or replacing the fuse may solve the problem.
Next, take a look at the batteries in your remote control. Sometimes, a simple battery change is all you need to get your garage door working again. If the batteries are fine, try reprogramming the remote by following the instructions in your garage door opener manual.
If your garage door is making unusual noises or is jerky when opening or closing, it could be a sign of a worn-out or misaligned track. Inspect the track for any obstructions or debris that may be causing the issue. Clear away any debris and lubricate the track with a silicone-based lubricant to help the door glide smoothly.
In some cases, the problem may lie with the garage door sensors. These sensors are located near the bottom of the door and are responsible for detecting any obstructions in the path of the door. If the sensors are misaligned or blocked, the door may not operate properly. Make sure the sensors are clean and properly aligned, with no obstructions in their path.
Emergency Garage Door Opener Repair
When faced with a malfunctioning garage door opener, promptly address the issue to ensure the safety and security of your property. Your garage door opener plays a crucial role in providing convenient access to your garage. It allows you to enter and exit your property without having to manually open and close the garage door. However, like any mechanical device, garage door openers can experience issues from time to time.
Common Sensor Issues and Fixes
Are you experiencing issues with your garage door sensors?
There are a few common problems that you may encounter.
First, sensor alignment troubleshooting can help if your door isn’t closing or opening properly.
Second, sensor wiring problems can cause faulty connections and disrupt the sensor’s functionality.
Lastly, if your sensors are too sensitive, you may need to adjust their sensitivity to prevent false detections.
Sensor Alignment Troubleshooting
To troubleshoot common sensor issues and fixes related to sensor alignment, follow these steps:
- Check for Obstructions: Ensure that there are no objects blocking the path between the sensors. Often, debris or even spider webs can interfere with the sensor’s alignment. Clean the sensors and remove any obstructions to restore proper alignment.
- Adjust Sensor Alignment: Use a level to check if the sensors are properly aligned. If not, loosen the mounting brackets and gently move the sensors until they’re aligned. Then, tighten the brackets to secure the sensors in place.
- Test the Sensors: After realigning the sensors, test their functionality by closing and opening the garage door. If the door operates smoothly without any interruptions, the sensor alignment issue has been resolved.
Sensor Wiring Problems
After troubleshooting sensor alignment issues, the next common problem to address is sensor wiring problems.
When it comes to your garage door, sensor wiring issues can prevent it from functioning properly and compromise its safety features.
One common problem is loose or disconnected wiring. Check if the wires are securely connected to the sensors and the control panel. If you notice any loose or damaged wires, make sure to fix or replace them immediately.
Another issue could be damaged or frayed wiring. Inspect the wires for any signs of wear and tear, and replace them if necessary.
Additionally, interference from nearby electrical devices can disrupt the sensor’s functionality. Keep electrical devices away from the sensor’s wiring to avoid any disruptions.
Sensor Sensitivity Adjustment
Adjusting the sensitivity of your garage door sensor is a common troubleshooting technique for sensor issues and can help ensure proper functionality. Here are three simple steps to adjust the sensor sensitivity:
- Locate the adjustment knobs: Look for the knobs on the sensor units, usually located near the bottom of the garage door tracks.
- Adjust the sensitivity: Using a screwdriver, turn the knobs clockwise to increase the sensor sensitivity or counterclockwise to decrease it. Start with small adjustments and test the door’s operation after each change.
- Test the door: Once you’ve made the necessary adjustments, test the garage door by closing and opening it. If it functions smoothly without any issues, you have successfully adjusted the sensor sensitivity.
Fixing Broken Garage Door Springs
If you find yourself facing the issue of broken garage door springs, you can rely on these emergency repair solutions to quickly and efficiently resolve the problem.
Dealing with broken garage door springs can be frustrating and inconvenient, but with the right knowledge and tools, you can successfully fix them and get your garage door functioning smoothly again.
Firstly, it’s important to understand that garage door springs are under high tension and can be dangerous to handle. With that in mind, the safest and most effective way to fix broken garage door springs is to call a professional garage door repair service. They’ve the expertise and experience to handle the repair safely and efficiently, ensuring that the springs are replaced correctly.
However, if you’re comfortable with DIY repairs and have the necessary tools, you can attempt to fix broken garage door springs yourself. Start by identifying the type of springs your garage door has – either torsion springs or extension springs. Each type requires a different approach for repair, so it’s crucial to understand the specific instructions for your particular springs.
For torsion springs, you’ll need winding bars and a steady ladder. Follow the manufacturer’s instructions carefully to unwind the broken spring, remove it, and install the new one.
Extension springs, on the other hand, require you to disconnect the springs from the track, remove the broken one, and install the new one.
Remember to always exercise caution and wear protective gear when attempting to fix broken garage door springs. If you’re unsure or uncomfortable with the process, it’s best to leave it to the professionals.
Repairing Damaged Garage Door Tracks
To repair damaged garage door tracks, you’ll need to assess the extent of the damage and determine the appropriate course of action. Here are three steps you can follow to fix the problem:
- Inspect the Tracks: Start by examining the tracks for any visible damage, such as dents or bends. Use a flashlight to get a clear view of the entire track system. Look for loose screws or bolts that may be causing misalignment. If you notice any minor dents or bends, you can try using a rubber mallet to gently tap them back into shape. However, if the damage is severe or the tracks are completely misaligned, professional help may be required.
- Clean the Tracks: Over time, dirt, debris, and rust can accumulate on the tracks, causing friction and hindering smooth operation. Use a damp cloth or a soft brush to remove any dirt or debris from the tracks. For stubborn grime, you can use a mild detergent mixed with water. After cleaning, dry the tracks thoroughly to prevent rusting.
- Lubricate the Tracks: Proper lubrication is essential for the smooth functioning of the garage door tracks. Apply a silicone-based lubricant to the tracks, focusing on the areas where the rollers make contact. Avoid using oil or grease-based lubricants as they can attract more dirt and cause buildup.
Solving Garage Door Remote Problems
Are you having trouble with your garage door remote?
If it’s not working, the first thing you should check is the battery. Sometimes a simple battery replacement can solve the problem.
If that doesn’t work, you may need to reprogram the remote.
Remote Not Working
Sometimes, garage door remotes can stop working unexpectedly, causing inconvenience and frustration. If you find yourself in this situation, don’t worry! There are several common reasons why your garage door remote may not be working, and simple solutions to get it back up and running smoothly.
Here are three things to check when your garage door remote isn’t working:
- Check the batteries: The most common reason for a non-functional remote is dead batteries. Replace the batteries with fresh ones and see if that solves the problem.
- Check the range: The remote may not be working if you’re too far away from the garage door. Try getting closer and see if it responds.
- Check the programming: Sometimes, the remote may need to be reprogrammed. Consult your owner’s manual for instructions on how to reset the remote.
Battery Replacement
Is your garage door remote not working? Don’t worry, the solution might be as simple as replacing the battery. A dead or low battery is a common reason for remote control issues. To fix this problem, follow these steps:
| Step | Instructions |
|---|---|
| 1 | Locate the battery compartment on your remote control. |
| 2 | Open the compartment and remove the old battery. |
| 3 | Check the type of battery required and purchase a new one. |
| 4 | Insert the new battery into the compartment, making sure the polarity is correct. |
| 5 | Close the compartment and test the remote control. |
Programming the Remote
To resolve any further issues with your garage door remote, the next step is to program it accordingly. Follow these steps to ensure a successful programming process:
- Locate the learn button: Look for a small button on the motor unit of your garage door opener. This button is usually located near the antenna wire or the LED light.
- Press the learn button: Press and release the learn button. You should see an indicator light or hear a beep sound.
- Program the remote: Within 30 seconds of pressing the learn button, press and hold the button on your remote that you want to program. Hold it until the indicator light on the motor unit blinks or you hear two clicks.
Addressing Noisy Garage Door Issues
When your garage door starts making excessive noise, it’s important to promptly address the issue to prevent further damage. Noisy garage doors can be annoying, disruptive, and even embarrassing. You don’t want to disturb your neighbors or draw unwanted attention to your home. Luckily, there are solutions to address this problem and restore peace and quiet to your garage.
The first step in addressing noisy garage door issues is to identify the source of the noise. It could be due to worn-out rollers, loose hardware, or lack of lubrication. Inspect the rollers and replace any that are damaged or worn. Tighten any loose screws, bolts, or hinges. Apply a silicone-based lubricant to the moving parts of the door, such as the hinges, springs, and rollers, to reduce friction and noise.
If the noise persists, it may be necessary to replace the garage door opener. Older models tend to be louder and less efficient. Upgrading to a newer, quieter opener can make a significant difference in reducing noise levels. Look for openers with belt-drive or screw-drive systems, as they’re generally quieter than chain-drive systems.
In some cases, the noise may be caused by an unbalanced garage door. An unbalanced door can strain the opener and cause it to make excessive noise. Adjusting the tension on the springs can help restore balance and reduce noise.
Emergency Garage Door Cable Repair
If you’re experiencing issues with your garage door cable, there are two main points to consider: cable tension adjustment and cable replacement.
When the cable tension is off, it can cause the door to operate improperly or not at all.
In some cases, the cable may need to be replaced completely to ensure proper functioning of the garage door.
Cable Tension Adjustment
Adjusting the tension on your garage door cables is a crucial step in emergency repairs, ensuring smooth and safe operation. Here are three important things to keep in mind when adjusting the tension on your garage door cables:
- Find the right tools: To adjust the tension on your garage door cables, you’ll need a pair of locking pliers and a winding bar. These tools will help you safely and effectively adjust the tension.
- Identify the problem: Before making any adjustments, it’s important to identify the source of the tension issue. Check for any frayed or broken cables, loose brackets, or misaligned tracks. Addressing these issues will help you achieve the correct tension.
- Gradually adjust the tension: Start by releasing the tension on the cables using the locking pliers. Then, use the winding bar to tighten or loosen the tension as needed. Make small adjustments at a time and test the door’s operation after each adjustment.
Cable Replacement
After successfully adjusting the tension on your garage door cables, the next step in emergency repairs is to address cable replacement.
If your cables are frayed, worn out, or damaged, it’s crucial to replace them promptly to ensure the smooth and safe operation of your garage door. Faulty cables can lead to the door becoming unbalanced or even collapsing, posing a significant safety risk.
To replace the cables, start by disconnecting the garage door opener and releasing the tension on the springs. Carefully remove the old cables and install the new ones, making sure they’re properly aligned and securely attached to the door.
Finally, reattach the garage door opener and test the door’s functionality to ensure everything is working correctly.
Fixing Garage Door Panel Damage
To repair garage door panel damage, assess the extent of the problem and determine the necessary steps for restoring its functionality. It can be disheartening to see your garage door with unsightly dents or cracks, but don’t worry – with a little effort, you can restore it to its former glory. Here’s how:
- Evaluate the damage: Start by carefully inspecting the extent of the damage. Is it a small dent or a larger crack? Understanding the severity of the problem will help you determine the best course of action.
- Replace individual panels: If the damage is limited to a specific panel, you may be able to replace it rather than the entire door. Measure the dimensions of the damaged panel and consult with a professional to find a suitable replacement.
- Repair minor dents: For minor dents, you can try to fix them yourself. Use a rubber mallet or a block of wood to gently tap the dent from the inside of the door. Be sure to protect the surface of the door with a towel or a piece of wood to avoid causing further damage.
Resolving Garage Door Weather Seal Problems
If you’ve successfully repaired the damage to your garage door panel, it’s now time to address any weather seal problems that may be compromising the functionality of your door. A properly functioning weather seal is essential for keeping your garage protected from the elements and maintaining a comfortable temperature inside. Here are some steps you can take to resolve any weather seal issues.
First, inspect the weather seal around your garage door. Look for any signs of wear, tears, or gaps. If you notice any damage, it’s important to replace the weather seal as soon as possible. You can find replacement weather seals at most hardware stores or online.
Next, clean the area where the weather seal will be installed. Use a mild detergent and water to remove any dirt or debris. Make sure the area is completely dry before proceeding.
Once the area is clean and dry, measure the length of the weather seal that you’ll need. Cut the weather seal to the appropriate length, ensuring a snug fit. Attach the weather seal to the bottom of the garage door using adhesive or nails, following the manufacturer’s instructions.
After the weather seal is securely in place, test the door to ensure a proper seal. Close the garage door and check for any gaps or air leaks. If you notice any issues, adjust the weather seal as necessary.
Final Thoughts
When it comes to emergency garage door repair, it’s important to act quickly and efficiently.
By following the troubleshooting tips and addressing common issues such as sensor problems, broken springs, and damaged tracks, you can ensure the safety and functionality of your garage door.
Remember, just like a well-oiled machine, a well-maintained garage door will smoothly open and close, providing security and convenience for your home.
Don’t let a small problem become a big headache; take care of it promptly and enjoy the peace of mind that comes with a properly functioning garage door.
Recent Posts
Why Carriage House Garage Doors Keep Winning Over Homeowners
If you want a garage door that adds character without sacrificing everyday function, carriage house
Modern Garage Door Styles That Transform Curb Appeal
A modern garage door doesn’t just look stylish; it can quickly change how your home
Best Garage Door Brands: A Buyer’s Guide to Quality and Warranty
When you compare the best garage door brands, you should weigh more than price alone.