
Contents
Chamberlain Garage Door Opener troubleshooting starts with the simplest checks before moving on to more complex components. Begin by testing the remote battery, confirming you are within operating range, and verifying that the opener has power. Next, inspect the safety sensors, wiring, garage door tracks, springs, and moving parts for signs of damage or obstruction. If everything appears to be working correctly but the opener still fails to operate, the issue may involve the motor, drive system, or logic board. A systematic inspection helps identify the problem quickly, prevents unnecessary part replacements, and restores safe, reliable operation.
Key Takeaways
- Check the power source first: confirm the opener is plugged in and the outlet is live.
- Test the remote by replacing its battery and verifying it works at close range.
- Inspect safety sensors for alignment, clean lenses, and remove any beam obstructions.
- If the opener clicks or reverses, check wiring, sensor mounts, and the logic board.
- If the motor runs but the door barely moves, inspect the trolley, drive, and gearbox.
Common Chamberlain Garage Door Opener Failures
Most Chamberlain garage door opener failures fall into three buckets: remotes, safety sensors, and the motor unit itself.
In chamberlain garage door opener troubleshooting, you can narrow the fault fast by matching the symptom to the subsystem. If the door won’t respond at all, you’re likely dealing with power, programming, or logic-board issues.
If the opener clicks but the door reverses, check sensor alignment, wiring, and obstructions.
If the motor runs yet the door barely moves, inspect the trolley, rail, and drive mechanism.
You’re not alone in this process; most of us start with the same few checks. Diagnose first, replace later. That approach saves time, avoids guesswork, and gets you back to a system you can trust.
Check the Chamberlain Remote First
Start with the remote, because it’s the easiest part to rule out. First, press the button and watch the opener’s LED or listen for a click. If nothing happens, replace the battery with a fresh one and confirm the polarity is correct.
Check that you’re within range and not standing near sources of interference. If you have a second remote, test it on the same door; if it works, your original remote is likely the problem.
Reprogram the remote only if the battery and range checks pass. Verify the lock or vacation mode isn’t enabled on the wall control, since that can block remote signals.
When your remote responds consistently, you’ve narrowed the fault and can move forward with confidence.
Inspect Power and Wiring Connections
Check the power cord first and confirm the opener is fully plugged into a live outlet.
Then inspect all wiring connections at the motor unit and safety sensors for looseness, damage, or corrosion.
If you spot any faults, correct them before you test the opener again.
Power Cord Check
If the opener shows no response, inspect the power cord and wiring connections first, because a loose plug, tripped outlet, or damaged wire can stop the unit before you ever reach the motor or logic board.
You’re checking for basic power delivery, not guessing. Confirm the cord seats firmly in the outlet, then test the outlet with another device. If the breaker tripped, reset it once and watch for repeat failure.
Look for pinched, cut, or overheated cord sections along the run.
- Cord fully inserted
- Outlet energized and stable
- Cord jacket intact
If the opener powers up after your check, you’ve likely found the fault.
If it still stays dead, move on with the rest of the diagnostic path confidently.
Wiring Connection Inspection
After confirming the outlet and cord, inspect the opener’s wiring connections for looseness, corrosion, or damage, because a bad connection can interrupt power or control signals just as easily as a failed component.
You should check the terminal screws, sensor leads, wall control wires, and motor harness, making sure each conductor seats firmly and matches the labeled terminals. If you see frayed insulation, green corrosion, or a pinched cable, replace or reroute it before testing again.
Tug each wire gently; it shouldn’t move. Then restore power and watch for consistent LED status lights.
If the opener still acts erratically, you’re likely dealing with a control-path fault, not a dead unit. That narrows your next test and keeps your troubleshooting on track.
Check and Reset the Safety Sensors
Next, check the safety sensors for proper alignment; even a slight offset can stop the opener from closing.
Make sure both sensor LEDs are steady and facing each other at the same height.
If the lights still indicate a fault, reset the sensors and retest the door.
Sensor Alignment Check
When the door won’t close and the opener reverses, check the safety sensors first. You should see both sensor LEDs glowing steadily, which tells you they’re aligned and communicating. If one light is off or flickering, your beam is likely blocked or the brackets have shifted.
Inspect the sensor eyes at the bottom of each track and confirm they face each other directly.
- Clear dust, cobwebs, and debris
- Tighten loose mounting brackets
- Reposition any sensor that’s tilted
Use the opener only after the lights stabilize. If the door still reverses, recheck the sensor line for vibration or sunlight interference.
You’re not alone here; this fault is common and usually points to a simple alignment issue, not a failed opener.
Sensor Reset Steps
If the safety sensors still act up after alignment, reset them by turning off the opener, unplugging it for 30 seconds, and restoring power to clear any temporary fault.
Then watch the sensor LEDs. You want both lights steady, not blinking or dark. If one light stays off, inspect the wiring at each sensor and the motor head for loose connections, staples, or corrosion.
Reconnect any loose plug firmly, then test the door again. Clean the lens with a soft cloth if dirt or spiderwebs block the beam.
If the opener reverses or won’t close, confirm the brackets haven’t shifted and the sensors face each other at the same height.
You’ve got this—systematic checks help your Chamberlain opener behave like part of your home team.
Test the Door, Track, and Springs
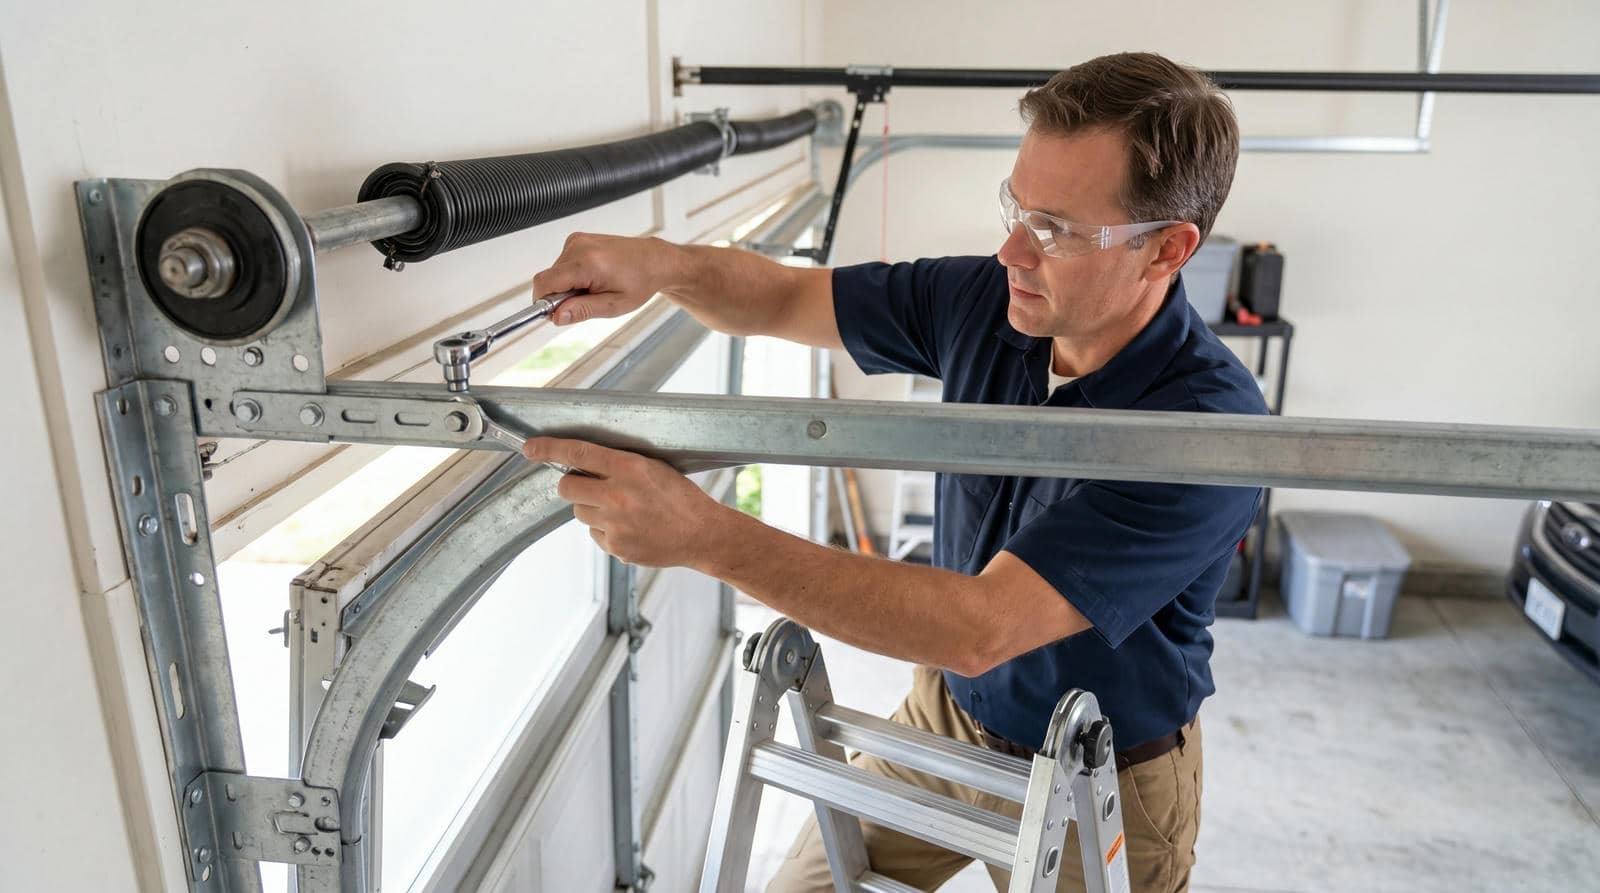
Start with a basic mechanical check: disconnect the opener and lift the door by hand to see whether it moves smoothly, stays balanced, and closes without binding.
If the door feels heavy, jerky, or drifts down, the springs may be out of spec. Scan the tracks for dents, loose brackets, debris, or sideways gaps that can pinch the rollers. You’re looking for a door that behaves consistently, so compare both sides and listen for rubbing.
- Check roller movement at each hinge
- Verify track alignment and fastener tightness
- Look for stretched, broken, or uneven springs
If you spot resistance, stop using the opener until you correct the cause. A clean, balanced door gives you a solid baseline and helps your Chamberlain system work with the rest of your setup.
Fix Motor and Logic Board Problems
Once the door, track, and springs check out, shift your attention to the opener itself: listen for a humming motor, clicking relay, or a unit that runs but won’t move the door, since those clues point to a failing drive, stripped gear, or board issue.
Unplug power, remove the light cover, and inspect the logic board for burnt traces, loose terminals, or swollen capacitors. Reseat spade connectors and ribbon cables, then restore power and test again.
If the motor hums but stalls, check the thermal protector and gearbox for binding. If the opener won’t respond at all, confirm line voltage and examine the board fuse.
You’re not alone here—these failures are common, and a clean, methodical check keeps you from chasing the wrong fault.
Repair or Replace the Opener
When the opener still won’t respond after you’ve checked the door hardware, sensors, motor, and board, you’re usually deciding between a targeted repair and a full replacement. You can repair the unit if the failure is isolated and parts are available. Replace it if the housing, gears, or electronics keep failing, or if the model’s too old to support reliable fixes.
Choose repair when one component tests bad.
Choose replacement when faults repeat after service.
Choose a replacement when safety features are outdated.
You’ll fit right in by using a simple rule: if the fix restores stable operation and parts cost stays low, repair it; if downtime, parts scarcity, or intermittent behavior keeps returning, upgrade the opener. That keeps your system dependable and your troubleshooting grounded.
Frequently Asked Questions
How Do I Reprogram My Chamberlain Remote?
Press your opener’s Learn button, then within 30 seconds press and hold the remote button until the lights flash. Release, test it, and repeat if needed. You’ll reprogram it fast and confidently.
Why Does My Opener Light Flash but the Door Not Move?
Your opener’s light flashes because you’ve got a safety lockout: check misaligned photo-eye sensors, blocked tracks, or a disengaged trolley. If those pass, inspect the motor, limits, and remote programming next.
How Can I Tell if the Wall Button Is Faulty?
You can tell the wall button’s faulty if it won’t click, feels loose, or doesn’t trigger the opener when you press it. Test the wires by bypassing the button; if the door moves, replace it.
What Does a Clicking Sound From the Opener Mean?
A clicking sound usually means you’ve got a relay, safety sensor, or motor issue. You should check power, wiring, and obstructions, then test the remote and wall button so you can isolate the fault quickly.
How Do I Replace a Chamberlain Keypad Battery?
You replace it by opening the keypad, removing the old battery, and installing a fresh one with matching polarity. Tiny battery, big fix. Then close it, test the code, and check the keypad lights.
Review
In the end, you can usually narrow down Chamberlain garage door opener trouble by checking the remote, power, sensors, door hardware, and motor first. If you find a dead battery, loose wire, misaligned sensor, or worn spring, fix that issue before moving on. When the logic board looks damaged or the opener still won’t respond, you’ll likely need a replacement. Stay methodical, and don’t chase gremlins in the machine.
Recent Posts
Single vs Double Garage Door: Picking the Right Configuration for Your Home
Choosing between a single and double garage door affects more than looks. You need to
Garage Door Financing Options: Pay Over Time Without Surprises
Most of homeowners delay big repairs because of cost, and a new garage door can
Best Time of Year to Replace Garage Door in Michigan
In Michigan, the timing of a garage door replacement can affect everything from labor cost