Contents
Many believe that garage door spring repair is a simple DIY task, but the reality is often more complex. It requires a solid understanding of the springs’ mechanics and thorough safety precautions. You’ll need the right tools and techniques to avoid accidents and ensure a successful repair. So, what are the essential steps and considerations you should know before you start? Let’s explore the critical aspects of this task.
Key Takeaways
- Always wear safety goggles and gloves to protect yourself from potential injuries during the repair process.
- Disconnect the power to the garage door opener to prevent accidental operation while working on the springs.
- Identify the type of spring (torsion or extension) to ensure you select the correct replacement and repair method.
- Regularly inspect springs for signs of wear, rust, or deformation to determine if replacement is necessary.
- Lubricate moving parts and perform routine maintenance to prolong the lifespan of your garage door system.
Understanding Garage Door Springs
Garage door springs are critical components that provide the necessary tension for your door to operate smoothly. Understanding how these springs function is essential for maintaining your garage door’s efficiency.
There are two main types of springs: torsion and extension. Torsion springs are mounted above the door and twist to create spring tension, while extension springs are located on either side and stretch to lift the door.
The lifespan of your garage door springs typically ranges from 7 to 14 years, depending on usage and maintenance. To help extend their lifespan, regularly check for wear and tear.
Look for signs of rust, fraying, or deformation, which can indicate the need for replacement.
Safety Precautions Before Starting Repair
Before you begin any garage door spring repairs, it’s vital to prioritize safety to prevent accidents or injuries. Garage door springs are under high spring tension, which can pose significant injury risks if not handled properly. Here are some important safety precautions to follow:
| Precaution | Description |
|---|---|
| Wear Protective Gear | Use safety goggles and gloves to shield yourself from debris. |
| Disconnect Power | Always unplug the garage door opener to avoid accidental operation. |
| Use Proper Tools | Make sure you have the correct tools to manage the springs safely. |
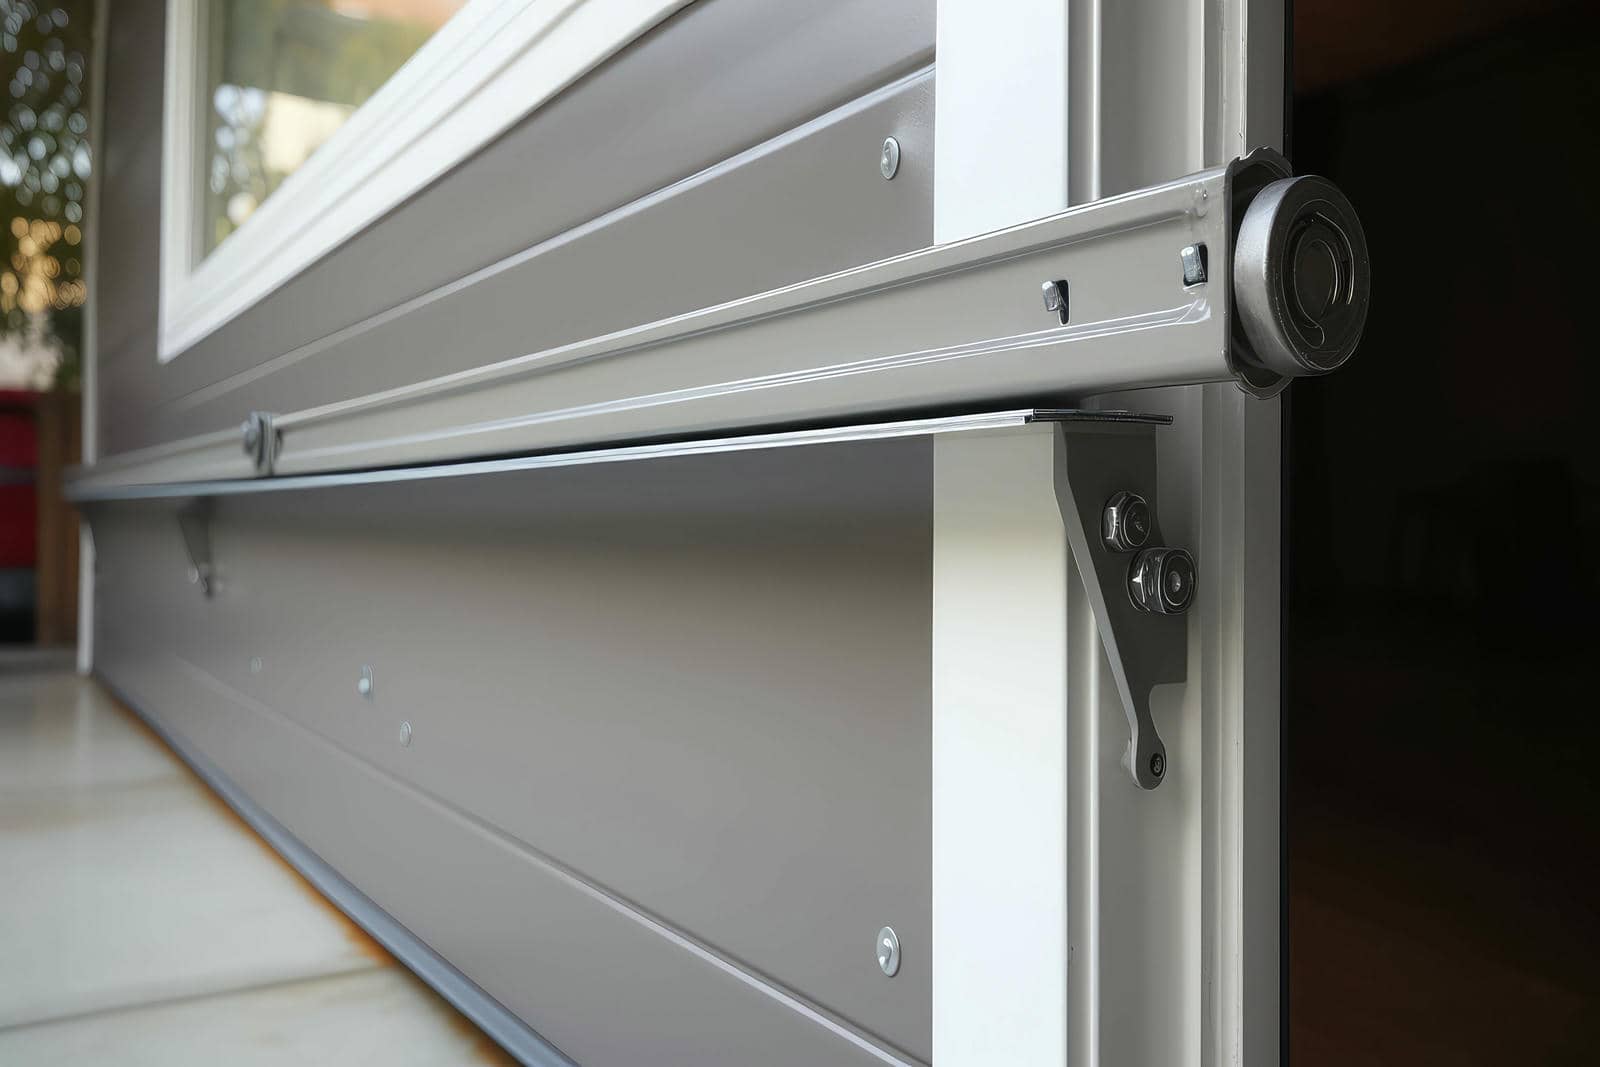
Identifying Types of Garage Door Springs
Understanding the types of garage door springs is essential for effective repairs, as each type functions differently and requires specific handling techniques.
The two primary coil spring types are torsion springs and extension springs. Torsion springs are mounted above the door, providing a balanced lift, while extension springs are located on either side of the door tracks, stretching during operation.
Recognizing these differences helps you choose the right repair method. Torsion springs generally have a longer lifespan than extension springs, often lasting 15,000 cycles or more, whereas extension springs might only last around 5,000 cycles.
When evaluating your garage door system, take note of the spring type, and verify you have the proper replacement parts if needed.
Understanding these details empowers you and fosters a sense of belonging within the DIY community, where shared knowledge leads to successful repairs.
Tools Needed for Spring Repair
When repairing garage door springs, you’ll need a specific set of tools to ensure safety and efficiency.
Essential hand tools include wrenches and pliers, while safety gear like goggles and gloves is vital to protect yourself from injury.
Additionally, specialized equipment such as a spring winding tool can make the job easier and more precise.
Essential Hand Tools
To successfully repair garage door springs, you’ll need a specific set of hand tools that ensure safety and efficiency.
Start with basic hand tools like a pair of pliers, a wrench set, and a screwdriver. These will help you with general tasks such as loosening and tightening screws. You’ll also want a tape measure to verify accurate adjustments.
For advanced repair tools, consider a socket set and a torsion spring winding tool, which are essential for safely handling high-tension springs. Don’t forget a sturdy ladder for reaching overhead components.
Having these tools on hand makes the job easier and enhances your confidence as you tackle the repair.
Safety Gear Requirements
Before you begin repairing garage door springs, it’s crucial to equip yourself with the right safety gear to minimize the risk of injury. Ensuring your safety is a priority, so make sure you have the following items on hand.
| Safety Gear | Purpose | Importance |
|---|---|---|
| Safety Goggles | Protects eyes from debris | Prevents eye injuries |
| Work Gloves | Shields hands from sharp edges | Enhances grip |
| Steel-Toed Boots | Protects feet from heavy items | Reduces foot injuries |
| Hard Hat | Guards against falling objects | Essential for head safety |
| Ear Protection | Reduces noise from tools | Prevents hearing loss |
Specialized Equipment Needed
Having the right tools is crucial for effectively repairing garage door springs, as using specialized equipment can greatly streamline the process and enhance safety.
To handle spring tension safely, you’ll need a quality winding bar, which helps you adjust the springs without risking injury. A socket wrench set is essential for loosening and tightening screws, while pliers assist in securing components.
Don’t forget a sturdy ladder for reaching high areas and safety glasses to protect your eyes. Investing in these tools minimizes repair costs and ensures a professional finish.
With the right equipment, you’ll feel confident tackling garage door spring repairs, fostering a sense of belonging in your DIY community.
Step-by-Step Guide to Replace Torsion Springs
Replacing torsion springs on your garage door can seem challenging, but with careful preparation and the right tools, you can tackle the job efficiently.
Start by confirming you have safety glasses, gloves, and a sturdy ladder. Disconnect the opener and secure the door in the closed position. Next, relieve the spring tension by using a winding bar to unwind the springs carefully. Make sure to note the number of turns you make, as this will guide your installation of the new springs.
Remove the old springs and replace them with new ones, confirming they’re the correct size and type. Secure the new springs by winding them with the same number of turns as before.
Finally, reconnect everything, test the door multiple times, and make any adjustments necessary. By following these repair techniques, you’ll confirm your garage door operates smoothly and safely once again.
Step-by-Step Guide to Replace Extension Springs
Before you replace extension springs, it’s essential to identify the type of springs you have.
Gather the necessary tools, such as wrenches, pliers, and safety glasses, to ensure a smooth process.
Don’t forget to follow safety precautions to protect yourself while working on the garage door.
Identify Spring Type
Identifying the type of garage door spring is vital for a successful replacement, especially when dealing with extension springs.
You’ll typically find two types: standard extension springs and safety cables. Check the spring tension to determine its condition; if it’s loose or showing signs of wear, it may need replacing.
Inspect the spring lifespan—most extension springs last about 7-9 years, depending on usage. Look for any visible signs of damage, such as rust or breaks.
Knowing the exact type of spring and its condition ensures you select the right replacement.
It’s important to act before the spring fails entirely, as this could lead to more significant issues and safety hazards.
Prioritize understanding your garage door’s system for effective repair.
Gather Necessary Tools
Having the right tools on hand is essential for a smooth extension spring replacement process. Start by gathering a pair of safety glasses to protect your eyes, along with gloves for hand safety.
You’ll need a socket wrench set and an adjustable wrench to remove the old springs. A sturdy ladder will help you reach the springs comfortably. Additionally, having a pair of pliers is critical for gripping and twisting wires.
A measuring tape will ensure you get the correct spring size. These tools are fundamental for effective spring maintenance tips and mastering DIY repair techniques.
With everything ready, you’ll feel more confident tackling the replacement, making the task efficient and straightforward.
Follow Safety Precautions
While replacing extension springs, it’s vital to follow specific safety precautions to prevent injuries.
First, verify you’re wearing safety goggles and gloves; these protect against flying debris.
Next, always release spring tension before beginning any work—this step is fundamental to avoid accidental recoil.
Make sure you’ve properly secured the garage door, using clamps or locking pliers to prevent it from moving.
Additionally, adhere to safety standards by using the right tools for the job; avoid makeshift solutions that could compromise your safety.
Finally, if you feel uncertain at any point, don’t hesitate to consult a professional.
Prioritizing safety protects you and fosters a sense of community among those who value responsible DIY practices.
Common Mistakes to Avoid During Repair
When tackling garage door spring repairs, it’s vital to steer clear of common pitfalls that can lead to further complications or even injury. One major mistake is taking improper measurements when replacing springs. Accurate sizing is important; otherwise, you might end up with springs that don’t fit properly, causing misalignment or malfunction.
Another frequent oversight is neglecting lubrication. Failing to lubricate the springs and other moving parts can lead to increased friction, wear, and tear, ultimately shortening the lifespan of your garage door system.
Always double-check your measurements and make lubrication a regular part of your maintenance routine.
Remember, a well-maintained garage door operates smoothly and safely. By avoiding these mistakes, you ensure a successful repair and foster a sense of community with fellow DIY enthusiasts who value safety and efficiency.
Your garage door deserves the best care you can provide.
When to Call a Professional for Help
How can you determine if your garage door spring repair requires the expertise of a professional? Look for clear signs of malfunction, such as the door not opening or closing properly, unusual noises during operation, or visible damage to the springs.
If you notice any of these issues, it’s essential to assess the situation carefully. Consider the complexity of the repair—if you’re unsure how to proceed or lack the necessary tools, calling a professional is often the best route.
Attempting repairs without proper knowledge can lead to increased repair costs or even injury. Don’t hesitate to seek help if the springs appear corroded or have been under significant strain.
Wrap-Up
Tackling garage door spring repair can feel like traversing a tightrope, but with the right knowledge and safety measures, you’ll find success. Always prioritize your safety, use the correct tools, and follow the outlined steps carefully. Regular maintenance can keep your springs functioning smoothly and extend their lifespan. If you ever feel overwhelmed, don’t hesitate to call a professional. After all, it’s better to have expert help than to risk a costly mistake.
Recent Posts
10 DIY Garage Door Opener Troubleshooting Tips
A malfunctioning garage door opener can be a frustrating experience, especially when you need to
Why Is My Garage Door Opener Malfunctioning?
If your garage door opener isn’t functioning properly, it can be frustrating and inconvenient. You
Enviromental Door | Reliable & Durable Commercial Garage Doors in Grandville
Enviromental Door proudly serves the Grandville area with a detailed range of commercial garage doors